
Home Business Web Analytics Article
Learn how to set up all of the general settings for your store. 5 minutes read
One of the first things you want to do after signing up and confirming your email address is to set up your store. Your "store" means your restaurant, coffee, shop, or for anything else you would like to have menus.
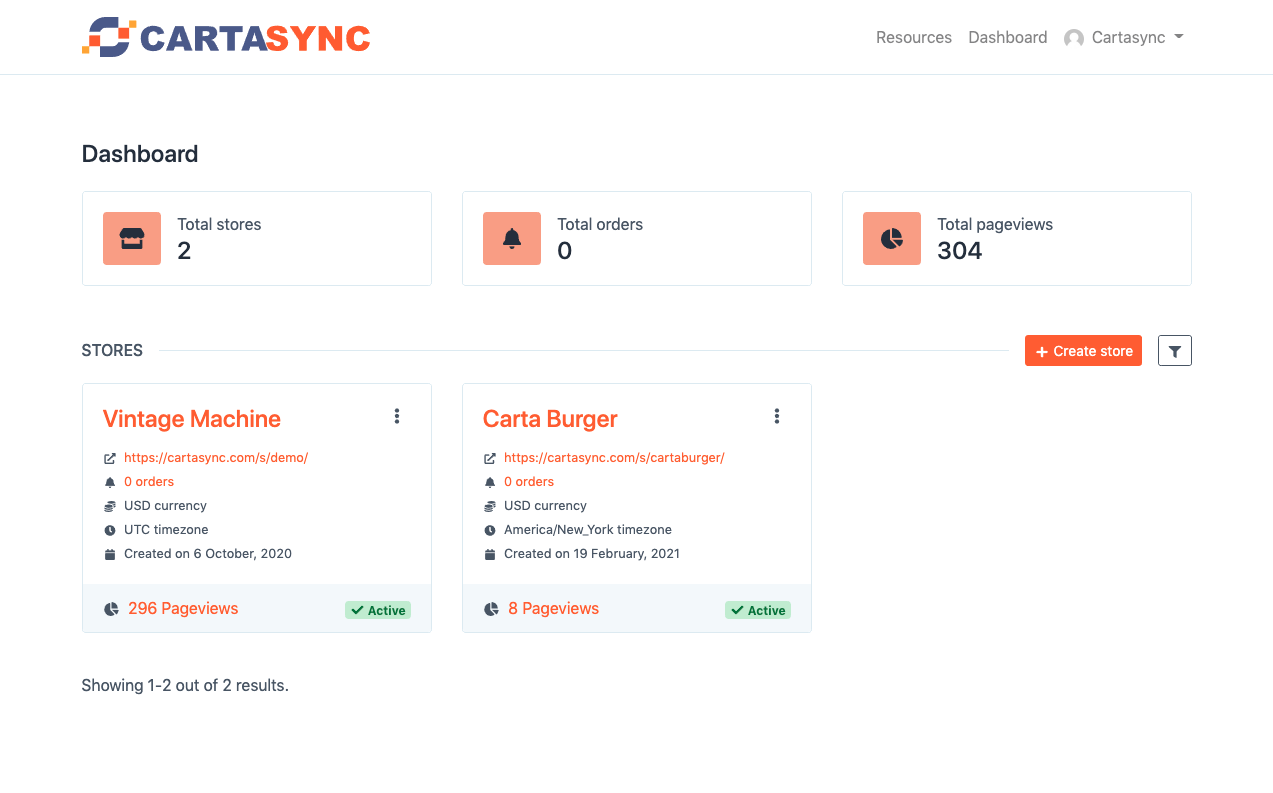
From your dashboard, click on create store (if you have created one yet - I have previously created Vintage Cafe and Carta Burger). In this example, we will work on Carta Burger, our example store.
Click on the store name to enter the editing area for the store. Across the top menu, you will see the following tabs:
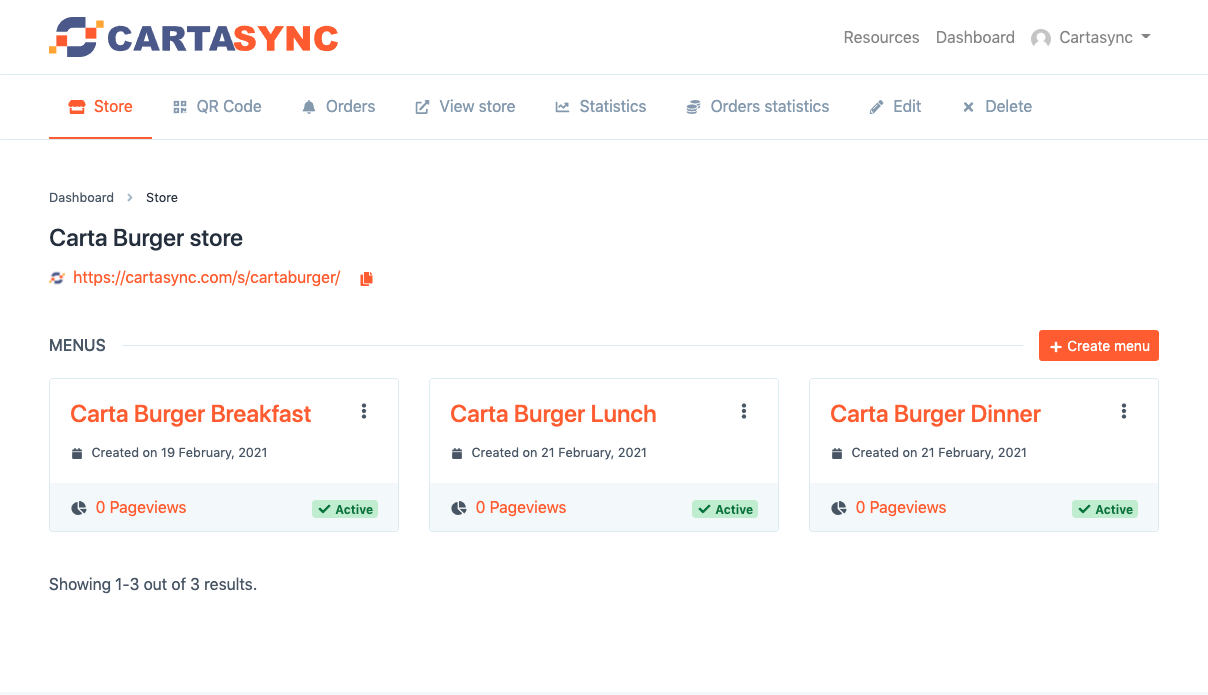
The "Store" tab shows your store with your created menus (I have already made the Carta Burger Breakfast, Lunch, and Dinner Menus).
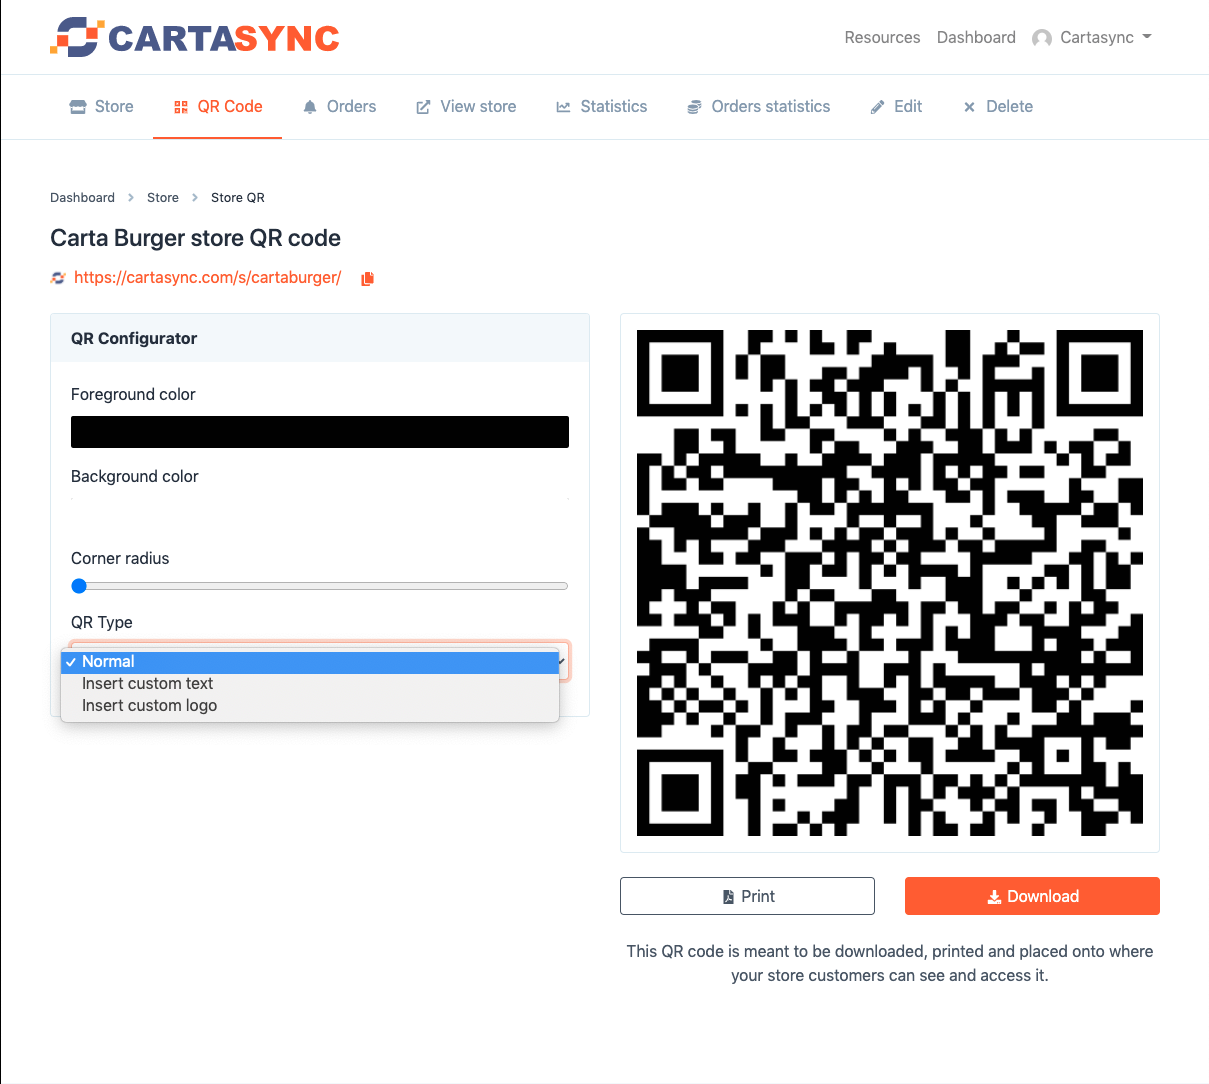
The QR Code" tab shows you your store's QR Code (that is attached to all of your menus). In this window, you can change the foreground and background code of the QR Label (excellent for matching store brand colors) and change the QR code's corner radius.
Note that you can click on "QR Type," you can insert custom text or your logo into the QR code.
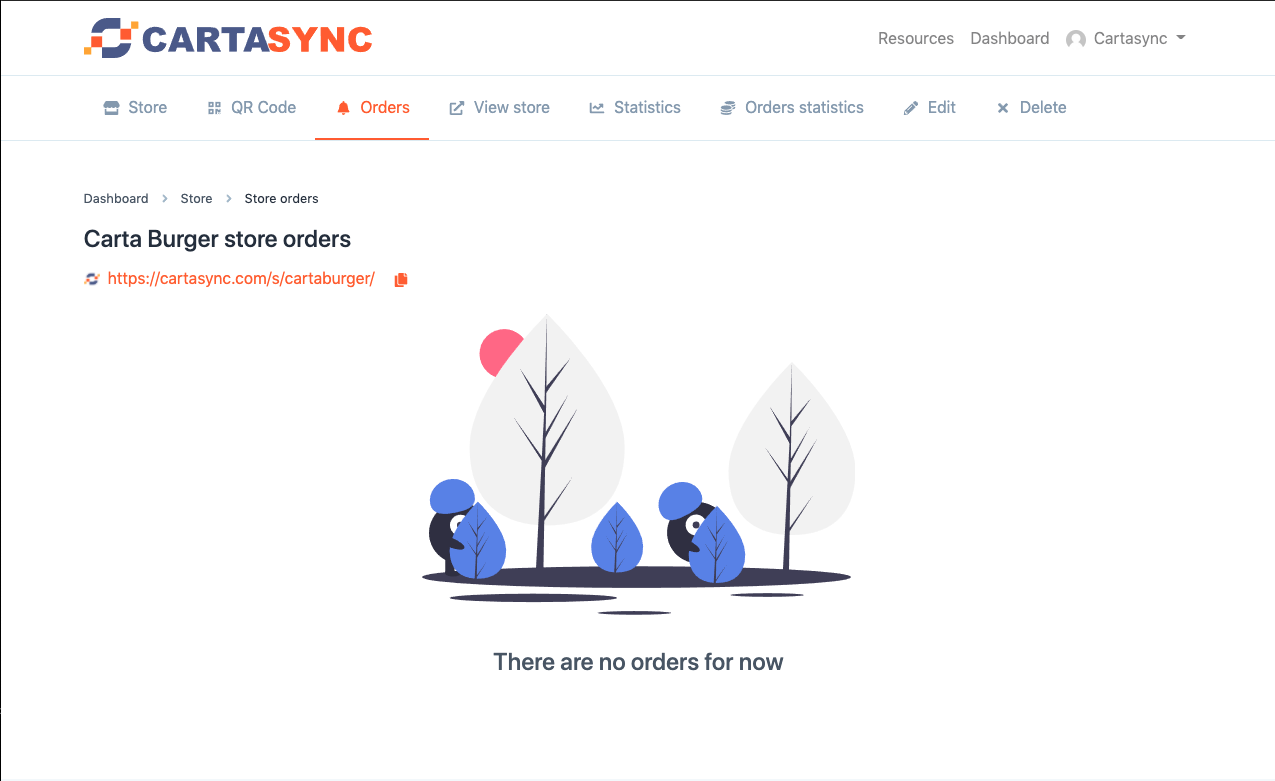
The "Orders" tab shows you orders in your store.
The "View Store" tab takes you to your online store.
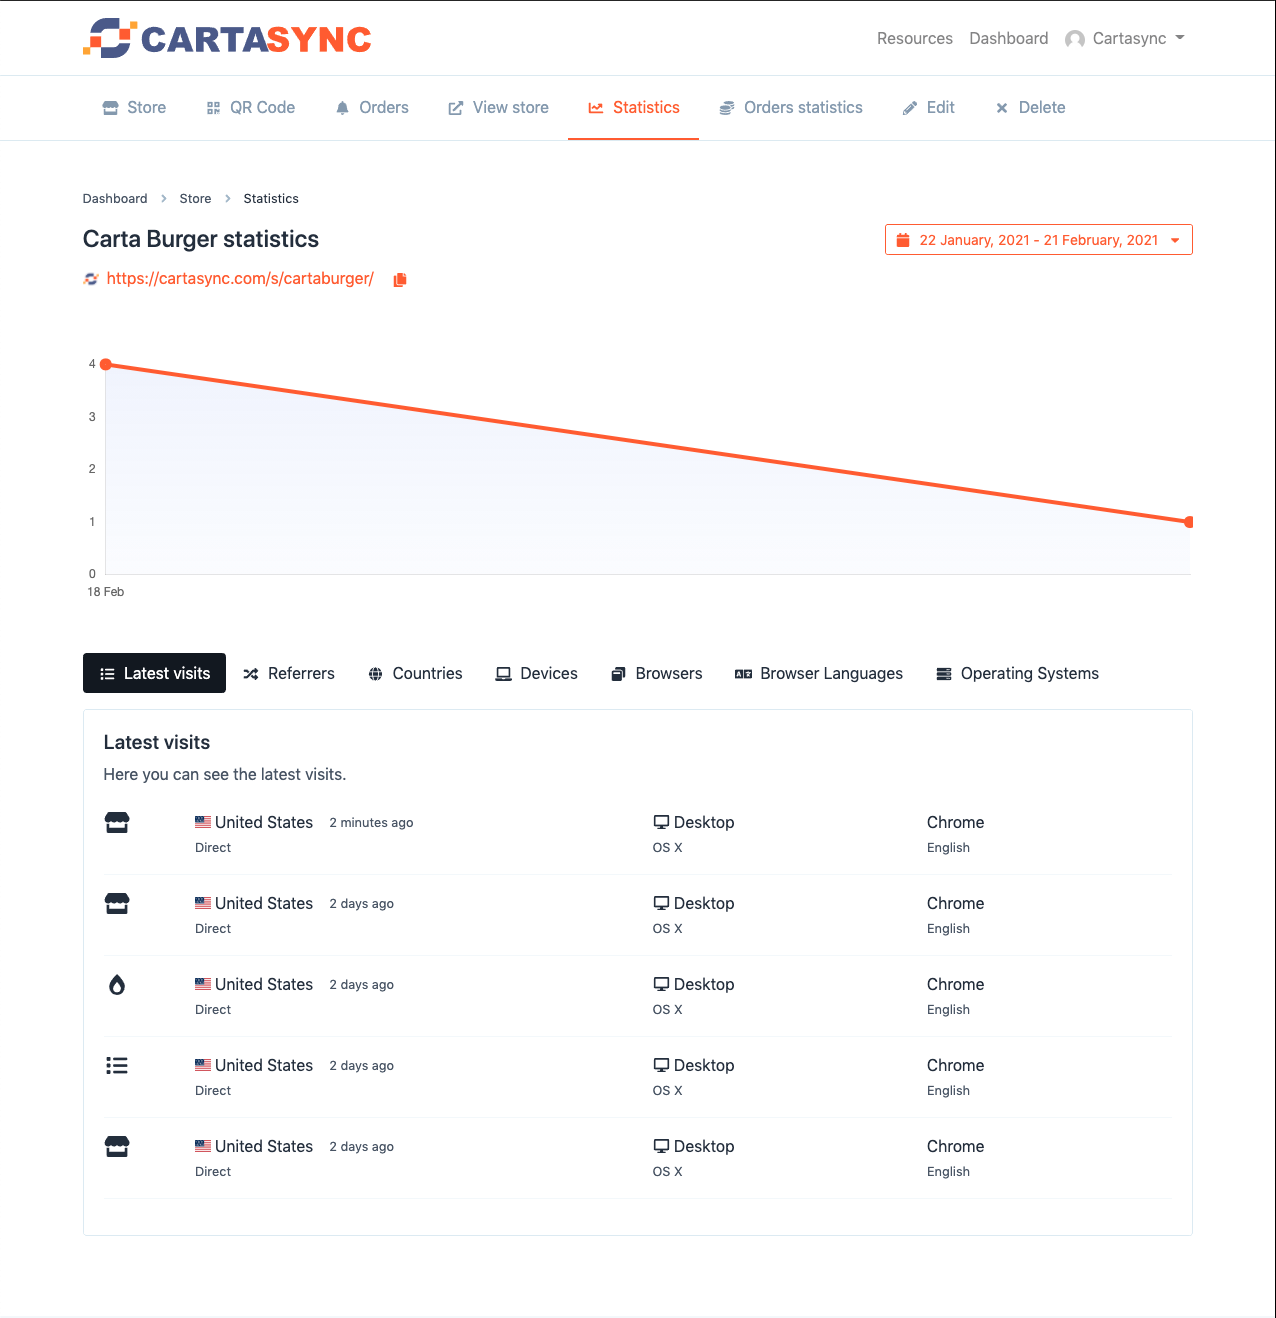
The "Statistics tab shows the online visitors to your store. You can see the latest visits, referrers, countries, devices used, browsers used, languages, and operating systems.
You can click on the date to adjust the date range for the statistics displayed in the top right.
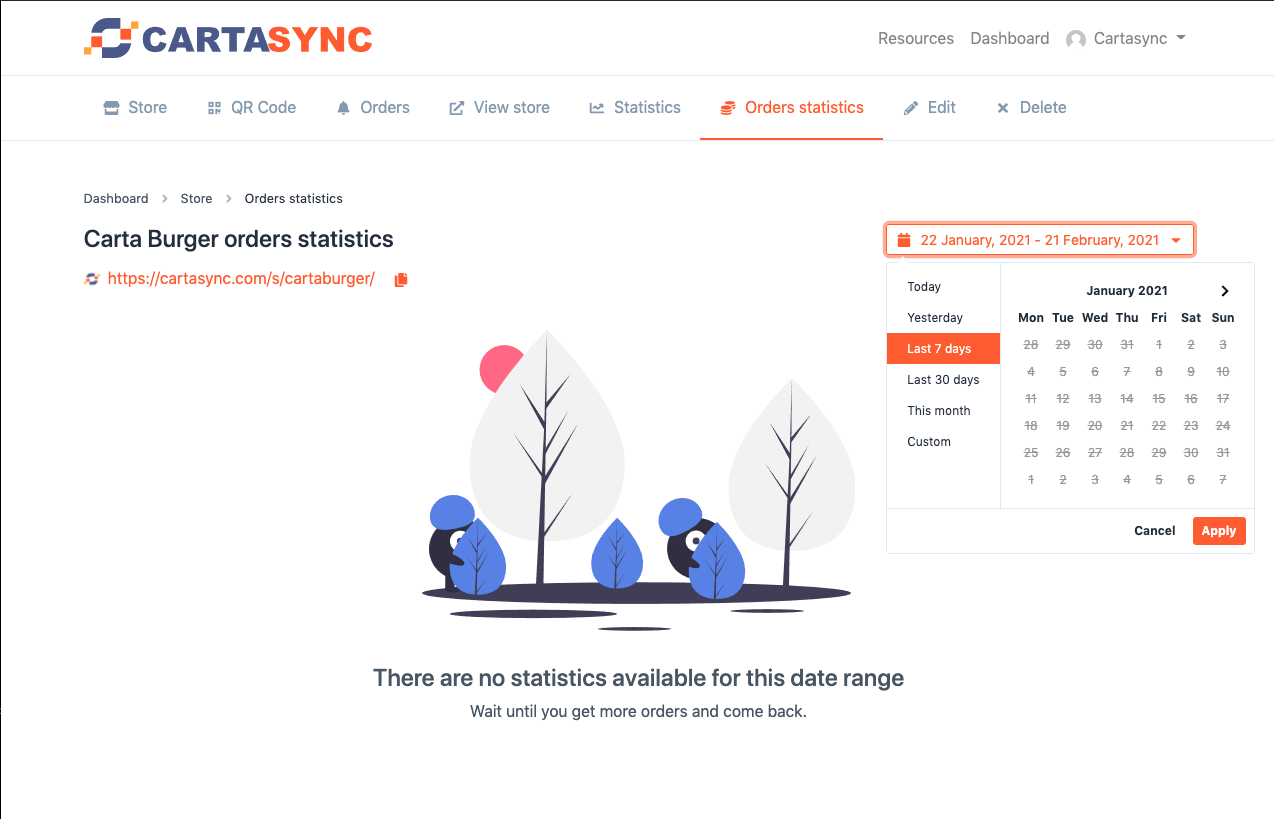
The "Orders Statistics" tab shows you statistics on orders you have received in your store. You can click on the date to adjust the date range for the statistics displayed in the top right.
The "Edit" tab is the tab we will use in this tutorial. It allows you to edit your store features on a global scale.
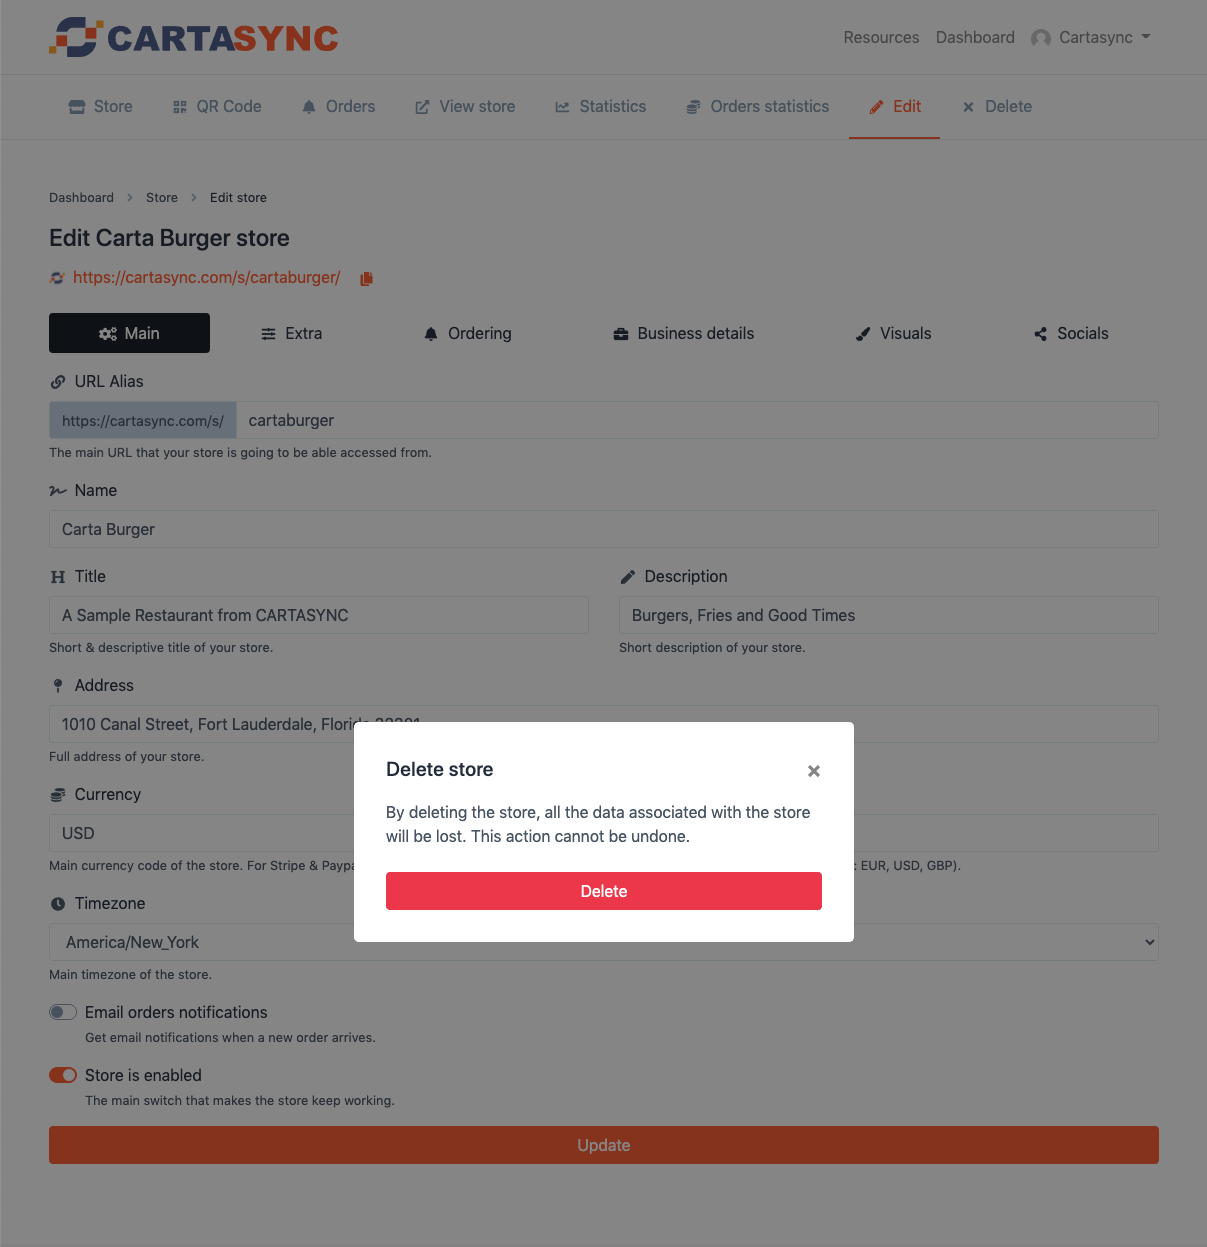
The "Delete" tab enables you to delete your store from the system. You cannot recover your store if you delete it from our system.
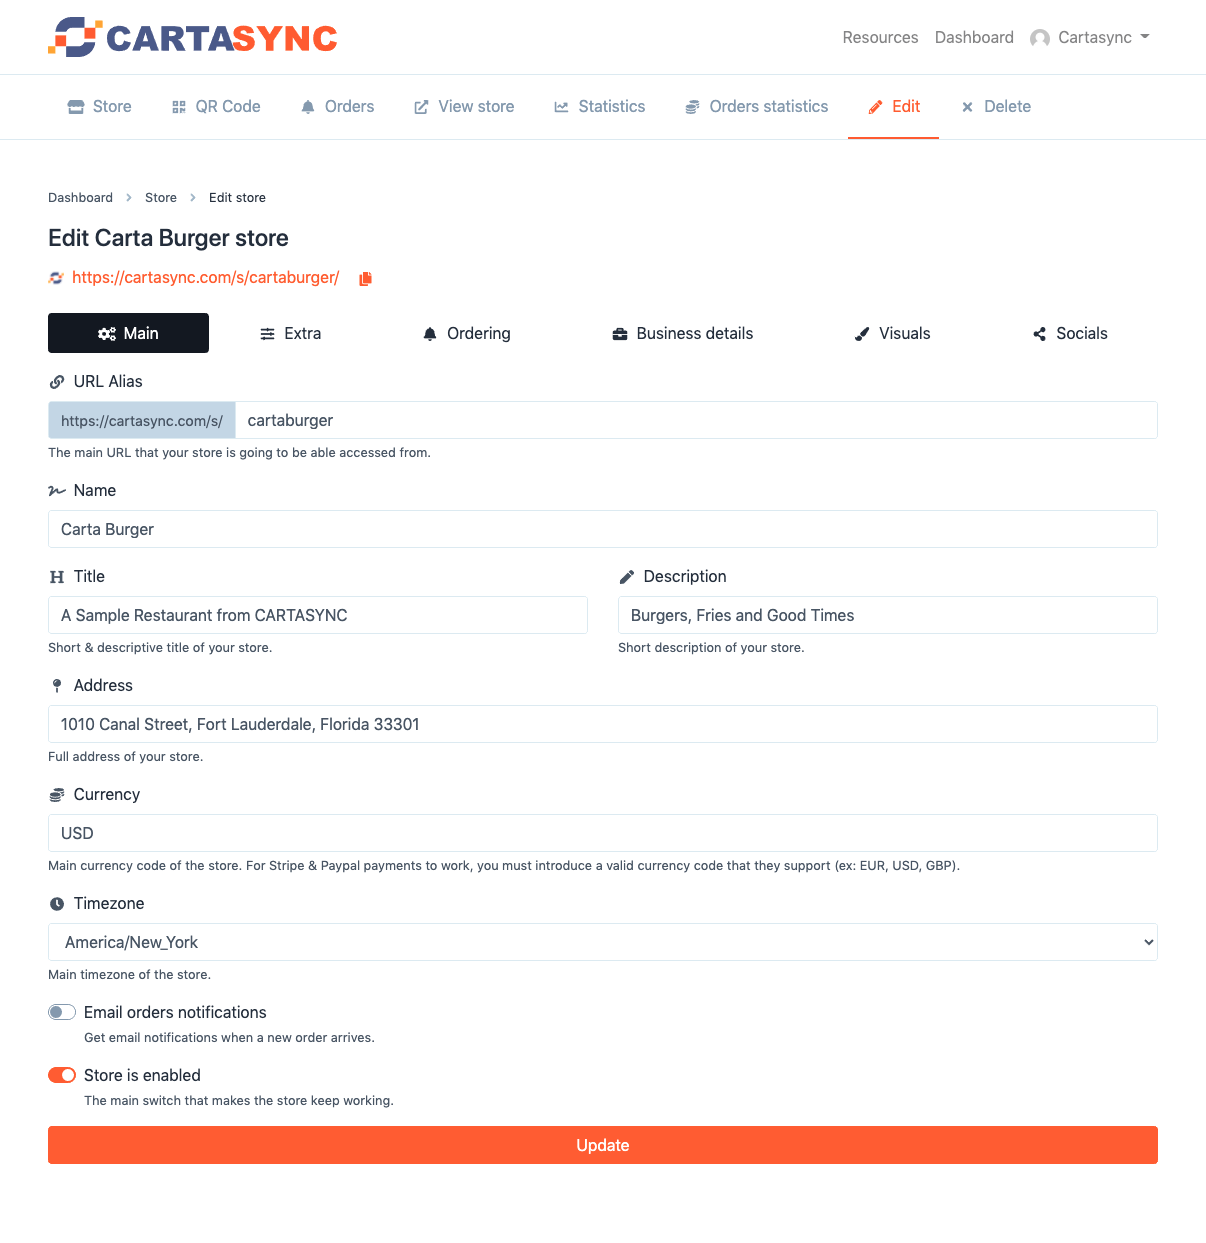
In the store edit menu, you will see another series of tabs. The tabs from left to right are "Main," "Extra," "Ordering," "Business Details," "Visuals," and "Socials."
In the main tab, we can customize the following:
"URL Alias" is the web address where customers can find your store on the web. It is important to choose something that relates to your store. In this example, I chose "cartaburger," the name of our fictional burger restaurant.
Moving down, I entered the name of the store, Carta Burger.
The "H" area is the name and short description of the store shown at the top of your store online.
Under "Description" I have added a short description of our restaurant. This text will be displayed below the title of your store on your store's page.
Enter your store's full address in this field. Customers will be able to click on this in your store to see the location in Google maps.
If you are going to take payments through your store online via Stripe or Paypal, enter "USD" for US Dollars.
Enter the timezone of your store here.
Select "Email orders notifications" if you want to receive emails of orders in your store.
Select "Store is enabled" when you are finished setting up your store and menus to make it live. This selector is the main switch for your online menu and store.
Click "Update" to save your work.

Clicking on the "Extra" tab brings you to a new window where you can enter your telephone number, website, and email address for your store.
If you would like your store to be password protected, you can enter your password here.
The next selector is "Search Engine visibility." In this example, since this is a fake restaurant, I have deselected it. However, you will typically want this to remain on, so Google, Bing, and other search engines can find your store online.
The next option is the "Remove Branding" selector, which will, if deselected, not show the CARTASYNC branding on your menus.
In the "open hours" area, select your open hours for your store.
Click "Update" to save your work.
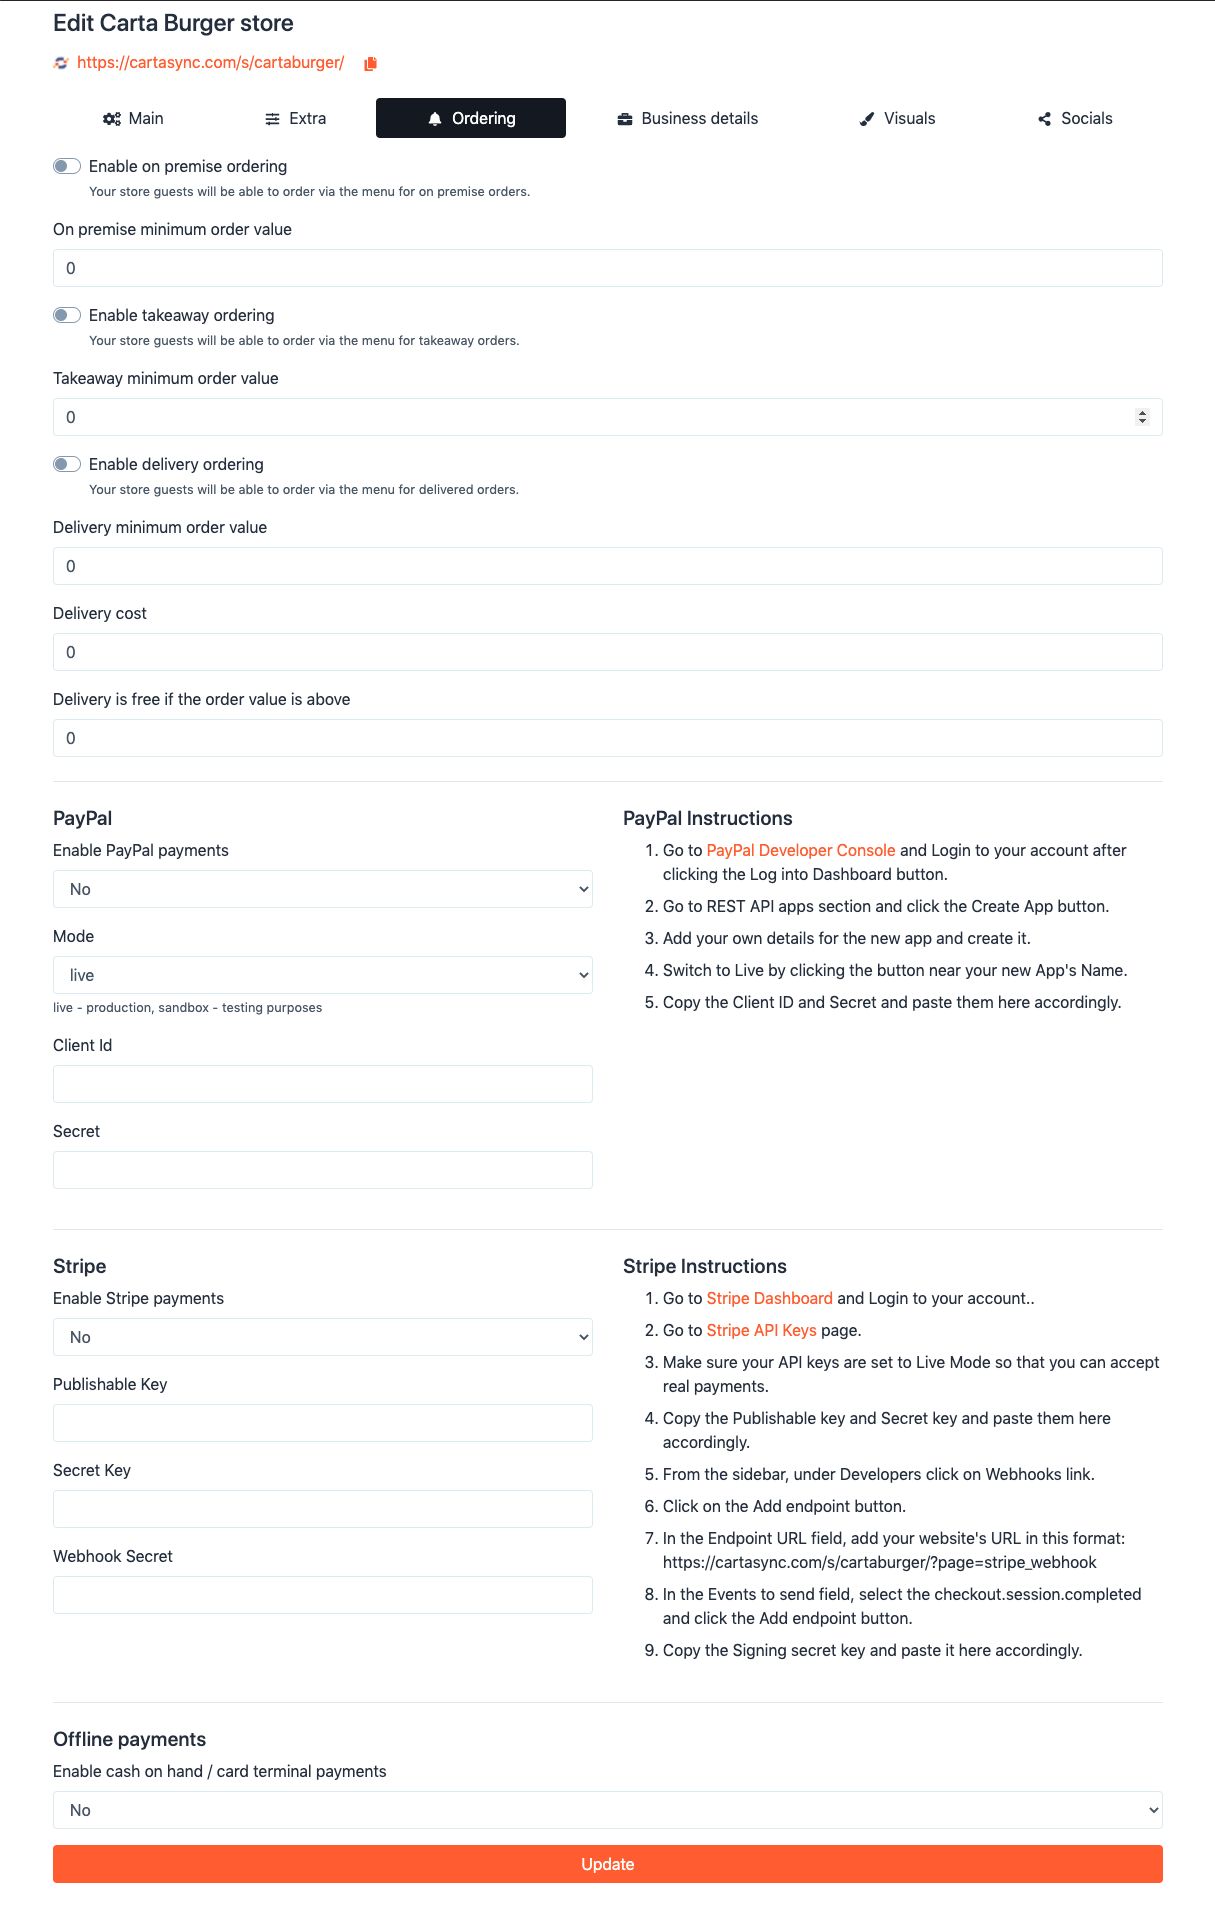
The "Ordering" tab is where you set up ordering online through the online store via the menu.
In cases where you have an employee taking the order in person (i.e., waitstaff going to someone's table) or at a takeout window or over the phone, you will not be using this functionality.
If you would like to activate this functionality, you would toggle the switches to "on," set your minimums, delivery costs, or free delivery. Note that you will need to set up Paypal or Stripe to take payment online. The instructions for setting this up are on the right of the page next to the specific payment processor.
You can also set up the cash and terminal payments for in-person payments.
Click "Update" to save your work.
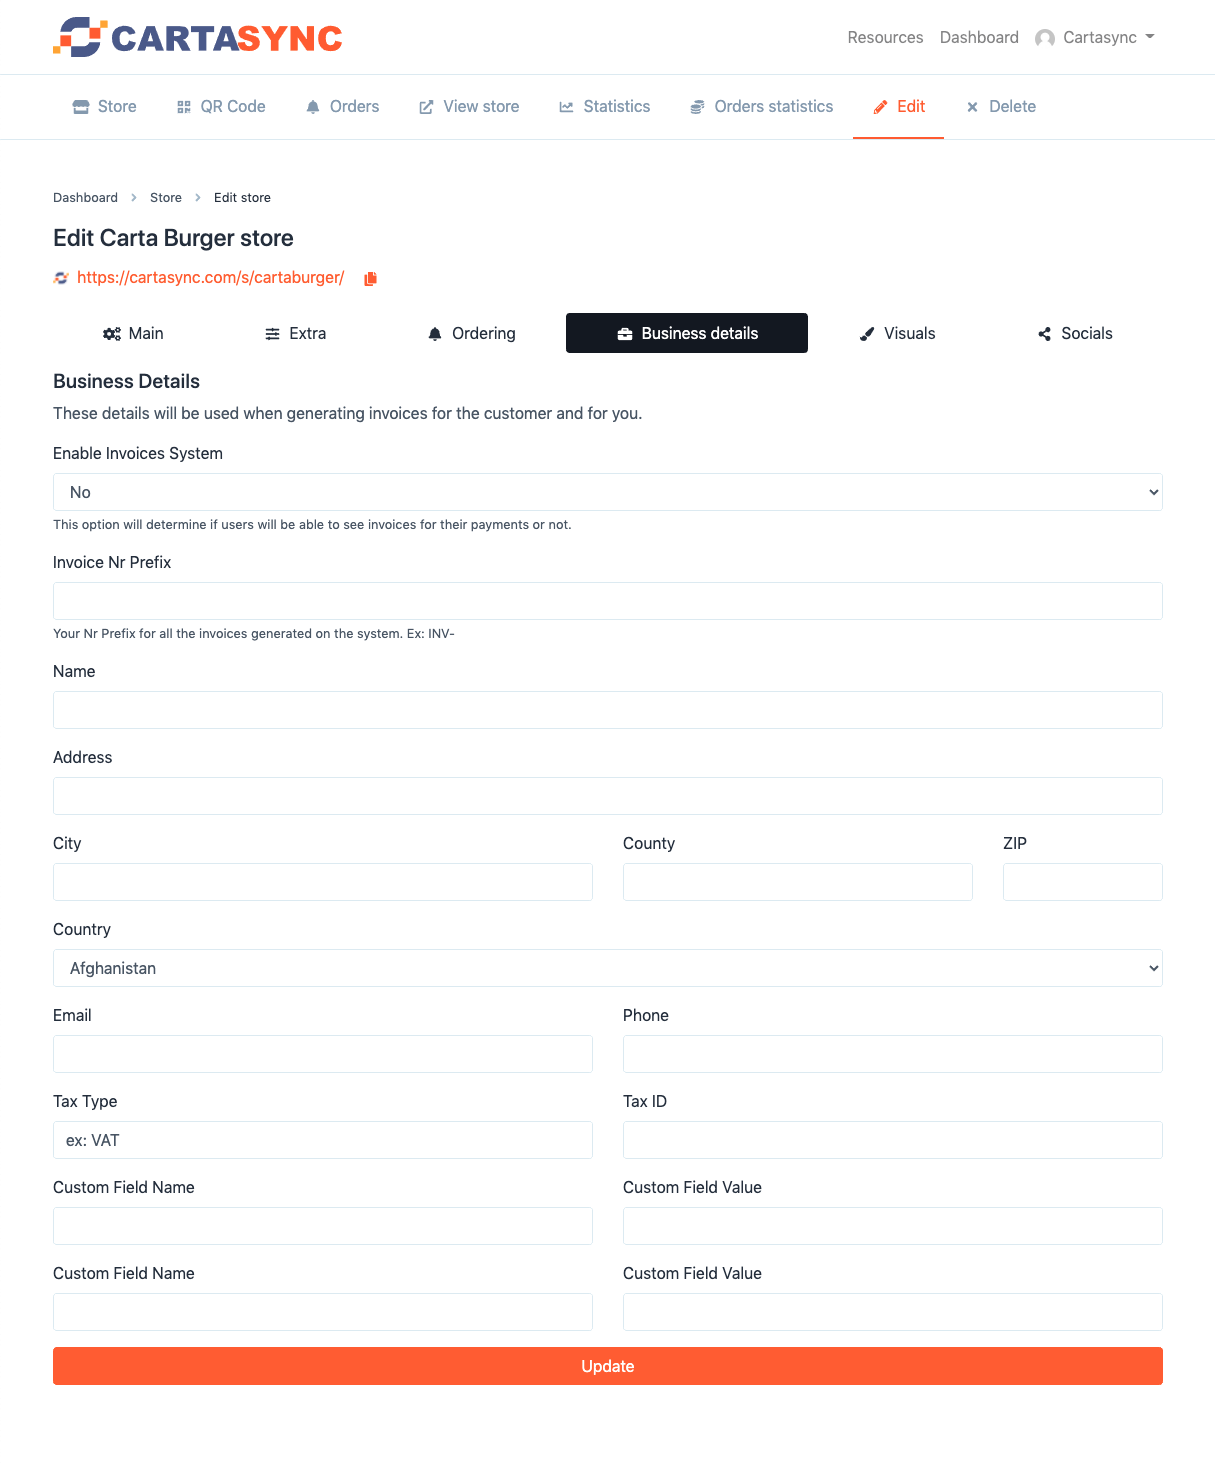
In the "Business Details" area, you can set up the system to create invoices for your customers. Just fill out the appropriate areas with your store's details.
Click "Update" to save your work.
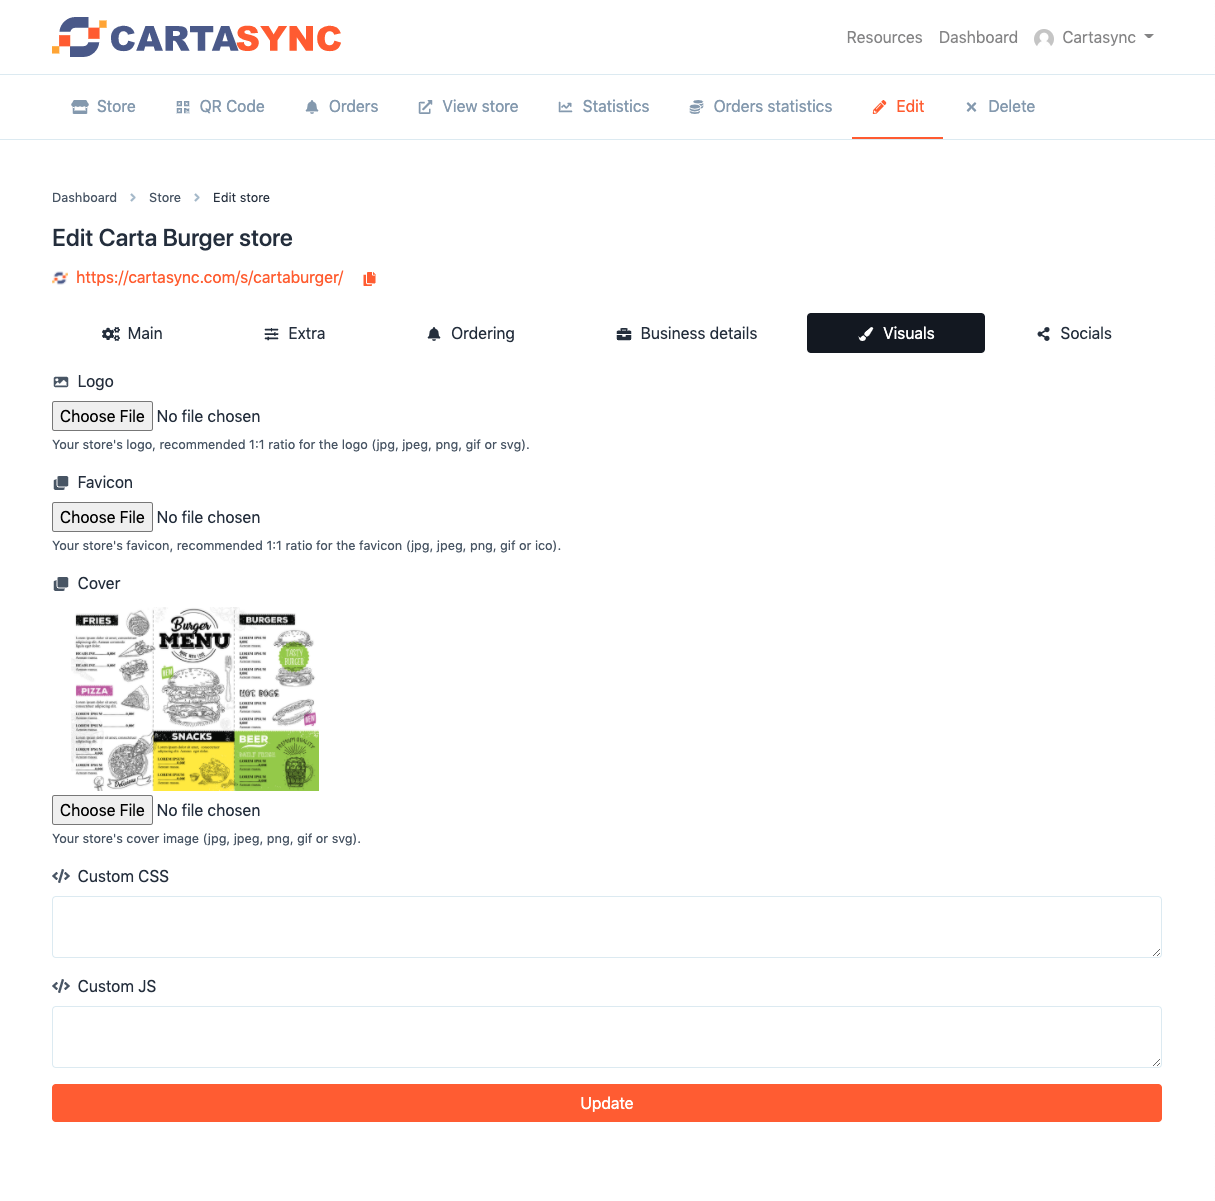
In the "Visuals" tab, you can add the store logo, the favicon (the little square logo shown in the browser tab), and the main banner for your store.
Make sure you choose a great image for the store cover, as that is at the top of the store.
Custom CSS and Custom JS are used to change your store's colors or add other scripts (like FOMOsync marketing or others).
Click "Update" to save your work.
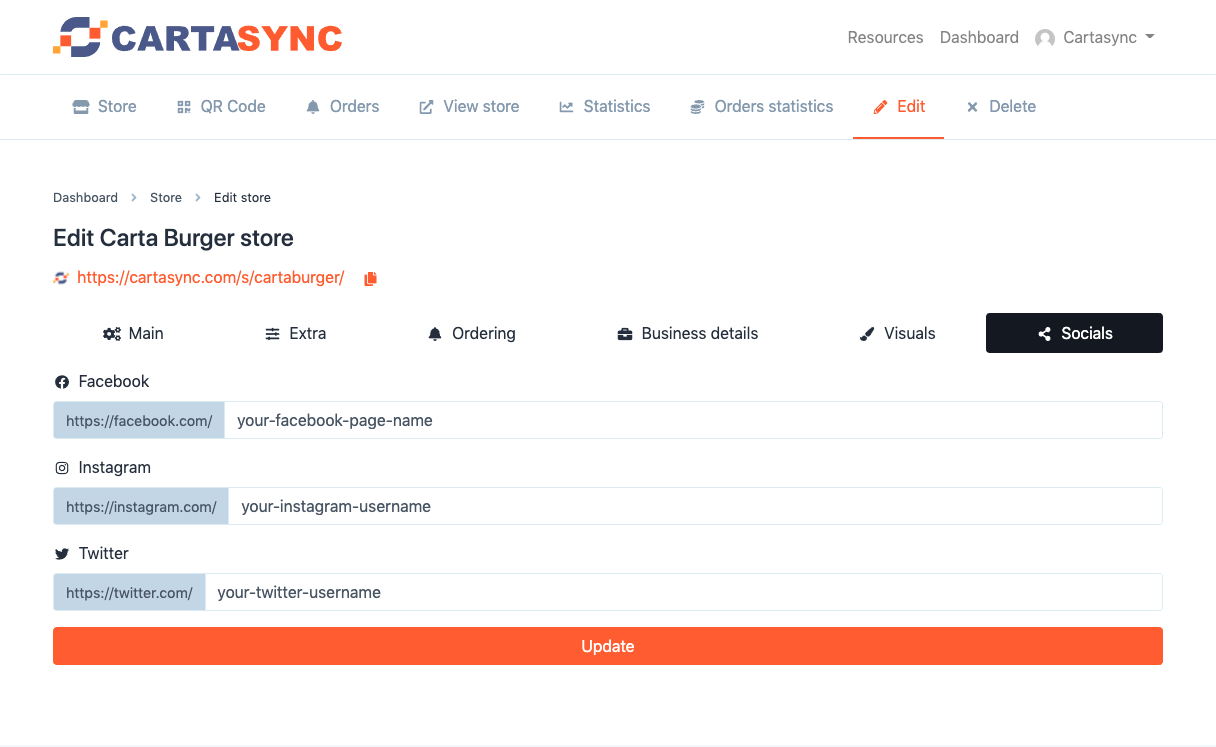
In this tab, you add your social media accounts for your store, which will be displayed to your customers. You only need to add the username (not the full web address).
Click "Update" to save your work.
The next step down is "MENUS," which is where you add the different menus for your restaurant. For example, you might have different menus for breakfast, lunch, and dinner.
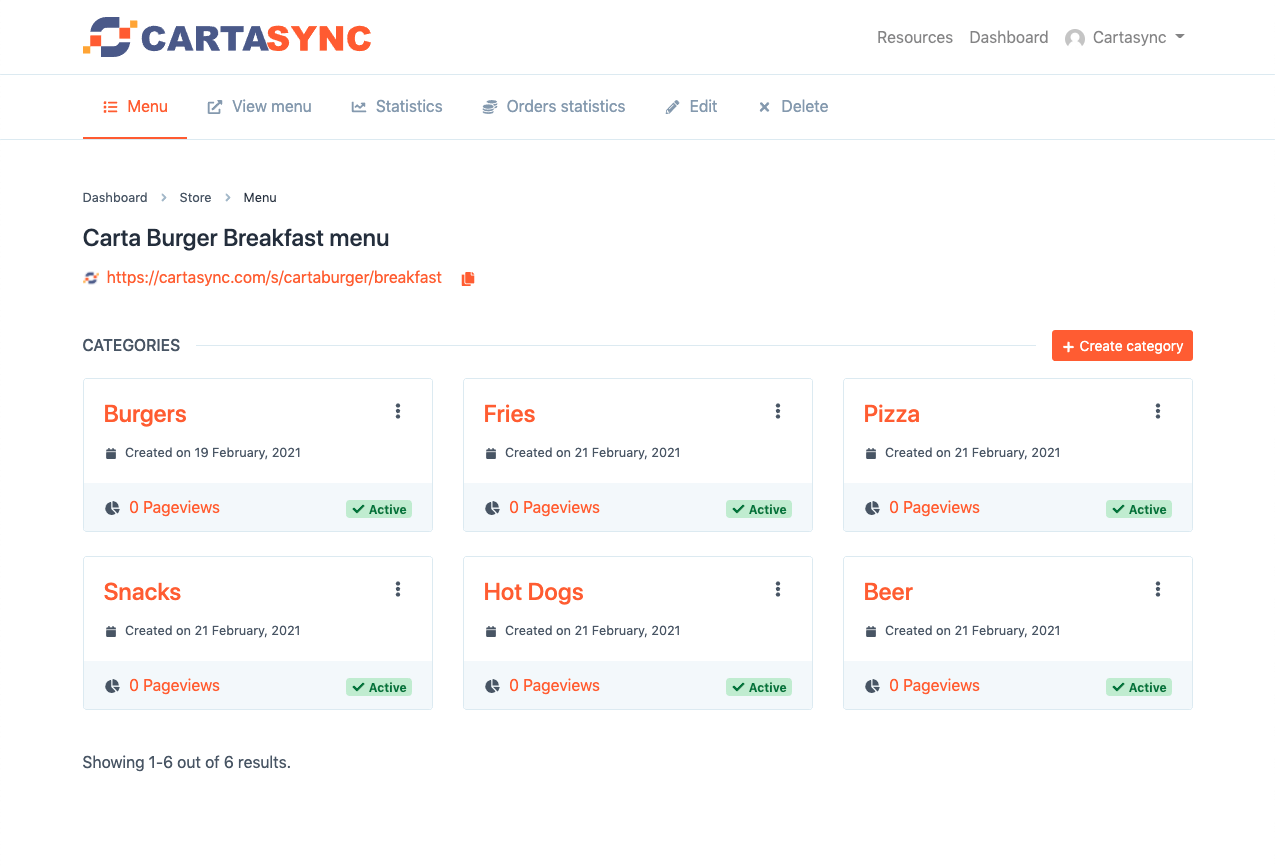
"CATEGORIES" represent the different sections on a menu, like "Fries," "Burgers," "Pizza," "Snacks," "Hot Dogs," and "Beer" in our example for Carta Burger.
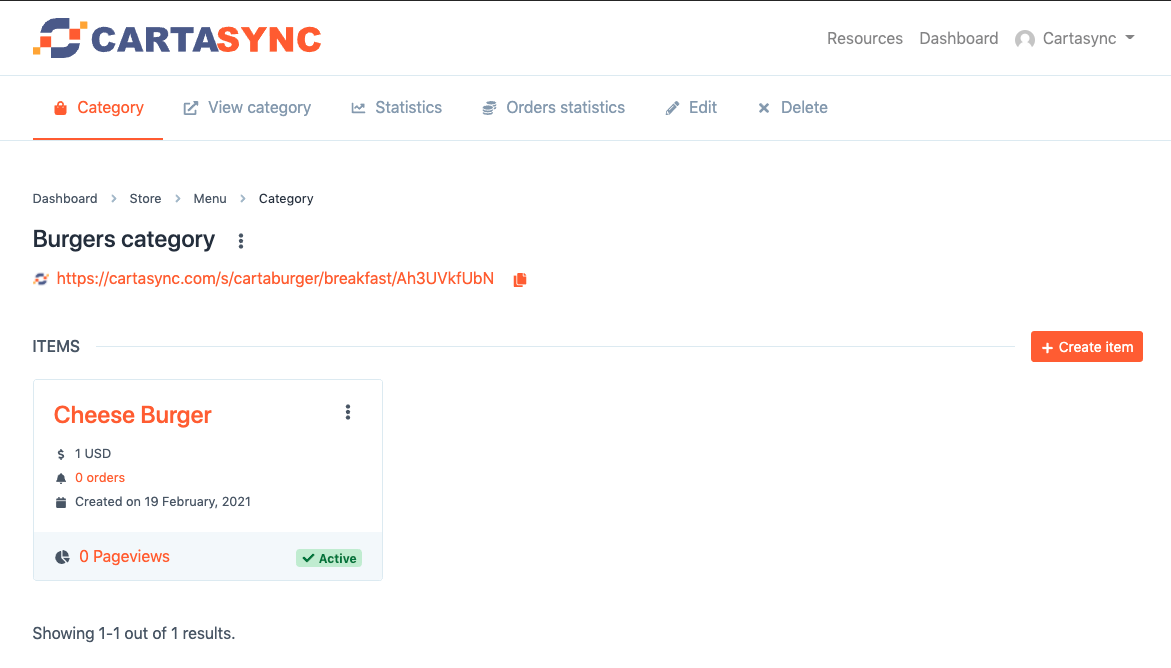
The next step down is "ITEMS," which are the specific items you add to your menu. In this example, there is a Cheese Burger that we priced for $1.
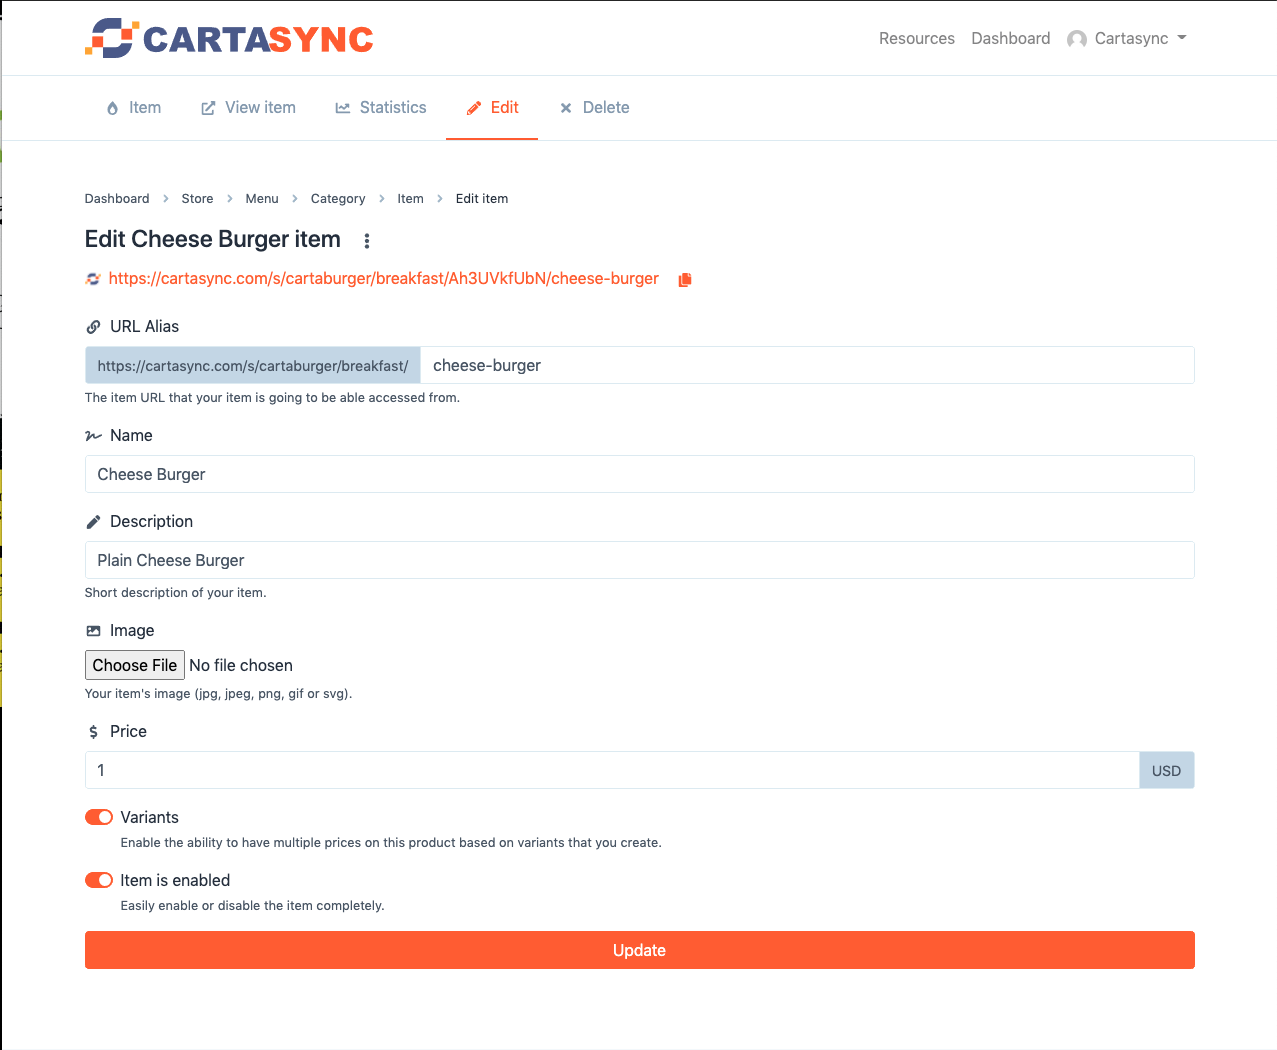
Clicking the three dots next to the item title and selecting "edit" will take you down to editing the item itself and adding variants, if needed.
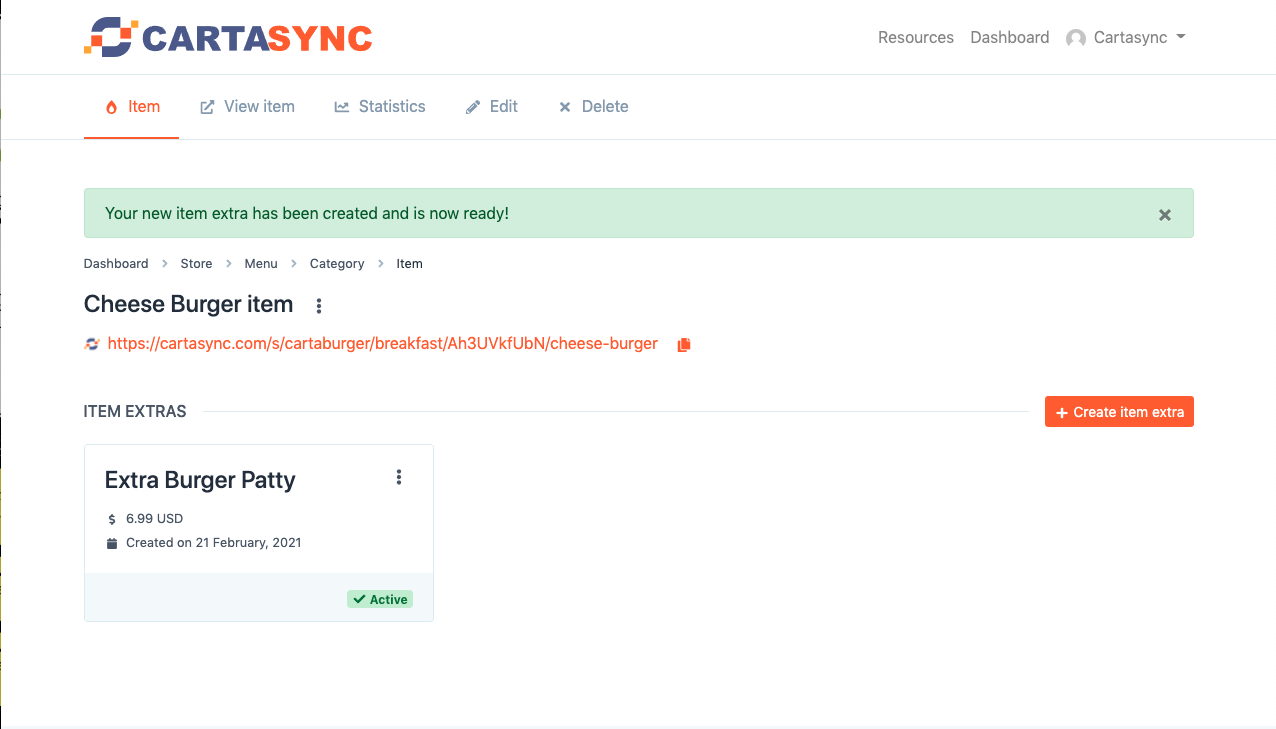
A "VARIANT" is an extra item, like adding a sauce, changing the cheese, or an extra patty. In this example, I added an extra patty for $8.99.
Creating a menu is up to you.
You can make it extremely detailed (important if you are going to have online ordering with very little employee interaction), but it can take some time.
Menus can also be much more straightforward (like a paper menu), with just an overview and pricing of menu items (typical in cases where customers call in and order all of the customizations over the phone or speak to one of your employees on-site).
You can also start off with a simple menu and then create a more detailed one later, making it live only when you are ready to launch it to customers.
[ 1 Out of 2 Found Helpful ]

Submit a ticket and we’ll get back to you as soon as possible.
